Making Use Of Hydraulic Cement to Fixing Cracks Around Skimmers and Fittings
Cracks around skimmers, returns, and swimming pool light niches are tiny details that typically choose whether a swimming pool remains limited and tidy or develops into a recurring migraine. Those hairlines in the skimmer throat, the chipped edge around a fitting, the apart joint under the waterline tile, all of them sit right where water, motion, and chemicals function hardest. If they are not handled with the appropriate materials and method, they maintain coming back.
Hydraulic concrete is just one of one of the most helpful products for these repair work, yet it is additionally one of the most misused. I have actually seen it troweled over moving cracks like spackle, jammed into adaptable joints that must have been left to a sealant, and smeared over tile and dealing rocks where it had no service being. Utilized properly, it can lock up leaks around rigid penetrations for many years. Utilized thoughtlessly, it becomes a bandage that hides bigger architectural or pipes issues.
What follows is a sensible walk‑through of just how seasoned pool trades make use of hydraulic cement particularly around skimmers, installations, and various other penetrations, and just how to integrate it with coatings like waterline ceramic tile, PebbleTec, and quartz accumulation surfaces so the repair work does not telegraph through the surface.
Why splits develop at skimmers and fittings
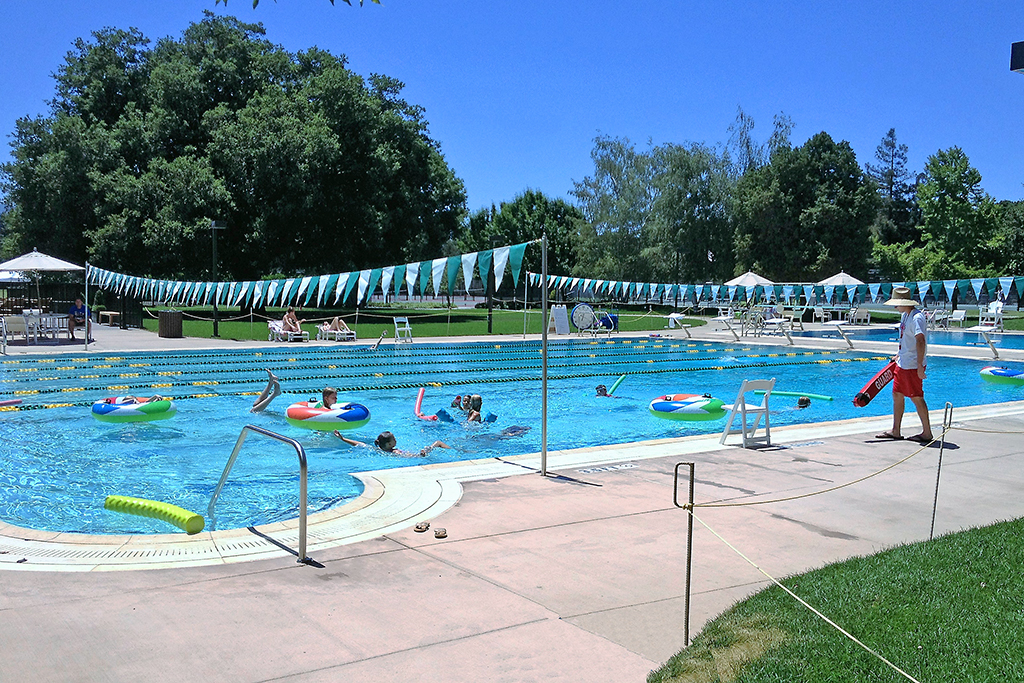
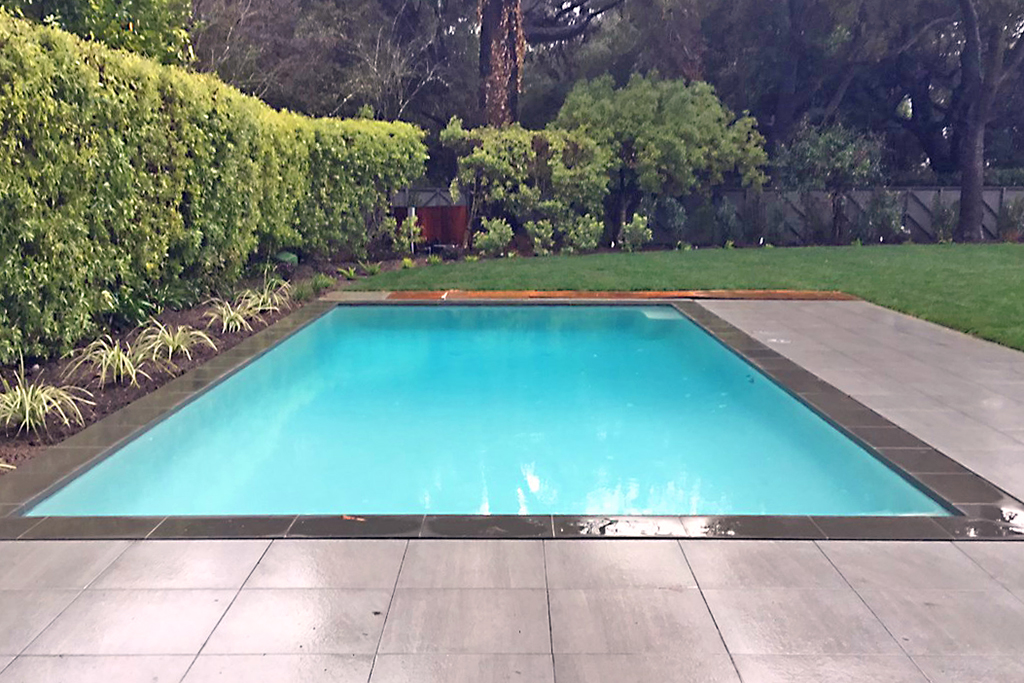
If you check out a random sample of a swimming pool around the waterline, you see a lot of different products piled together. The swimming pool shell is gunite or shotcrete, pneumatically applied concrete that forms the structure. In addition to the swimming pool bond beam you might have waterline floor tile, tile underlayment, and grout, with travertine coping, bullnose block, or a cantilevered coping connected right into the deck. Inside, the shell carries a plaster or aggregate surface such as PebbleTec, Hydrazzo, Ruby Brite, or a simple white line plaster.
Every among those materials expands and gets at a different price. The dirt under the framework swells and shrinks. The water in the pool warms and cools down. Skimmer bodies and light specific niches are normally stiff plastic or metal set into that concrete structure, with plumbing glued to the back. Over years, that mix of movement, water stress, and chemical direct exposure focuses tension right at the interface between the covering and the plastic fittings.
Typical fracture scenarios around skimmers and fittings include:
If the pool is older, you may additionally see the results of previous "repairs" where straight mortar or common cement were smeared in without interest to bond or waterproofing. Those materials normally diminish, debond, and leak again.
Hydraulic cement acts in different ways. It is formulated to set swiftly in the visibility of water, expand slightly as it treatments, and create a dense, fairly impenetrable plug. That makes it a strong candidate near skimmers and fittings, if the underlying structure is sound.
When hydraulic cement is the best choice (and when it is not)
Before you grab the container of hydraulic cement, it aids to be clear regarding what problem you are really solving.
Hydraulic concrete succeeds when you require to:
- Fill rigid splits, spaces, or honeycombing in concrete or the pool covering around a non‑moving penetration.
- Stop small energetic infiltration through the shell at a joint between concrete and plastic or metal.
- Build a solid, high‑bond base for a later finish, such as waterline tile, glass mosaic ceramic tile, or a brand-new plaster or quartz accumulation finish.
Hydraulic concrete is not the device for problems that involve recurring motion or versatile joints. Long straight joints in between deck and coping, growth joints behind cantilevered coping, or the interface between deck and swimming pool covering ought to usually be re‑established with appropriate mastic joint substitute using items like Deck‑O‑Seal, not rigid cement. Trying to "secure" those joints with hydraulic cement practically ensures cracking.
Similarly, if the pool covering itself is structurally jeopardized, or if a pool pipes stress test reveals leakages in the lines, loading hydraulic cement around the skimmer throat might hide signs and symptoms without healing the underlying trouble. In those cases, you might be checking out a lot more substantial gunite resurfacing, shotcrete repair, or skimmer substitute instead of a simple fracture patch.
A helpful guideline: use hydraulic cement where the concrete is meant to be monolithic and inflexible, and where the split is even more of a void or leakage path than a growth joint.
Evaluating the split and surrounding finishes
Good repairs start with a careful inspection. Around skimmers, returns, and swimming pool light particular niches, I check out numerous layers: structure, coating, and movement.
At the structural level, evaluate the pool covering and pool bond beam of light. Tap with a hammer or the handle of a trowel and pay attention for hollow spots. If the location around the skimmer rings solid, you are taking care of a localized crack or bond loss. If several feet of bond light beam sound hollow, you might be handling larger delamination or stopping working shotcrete.
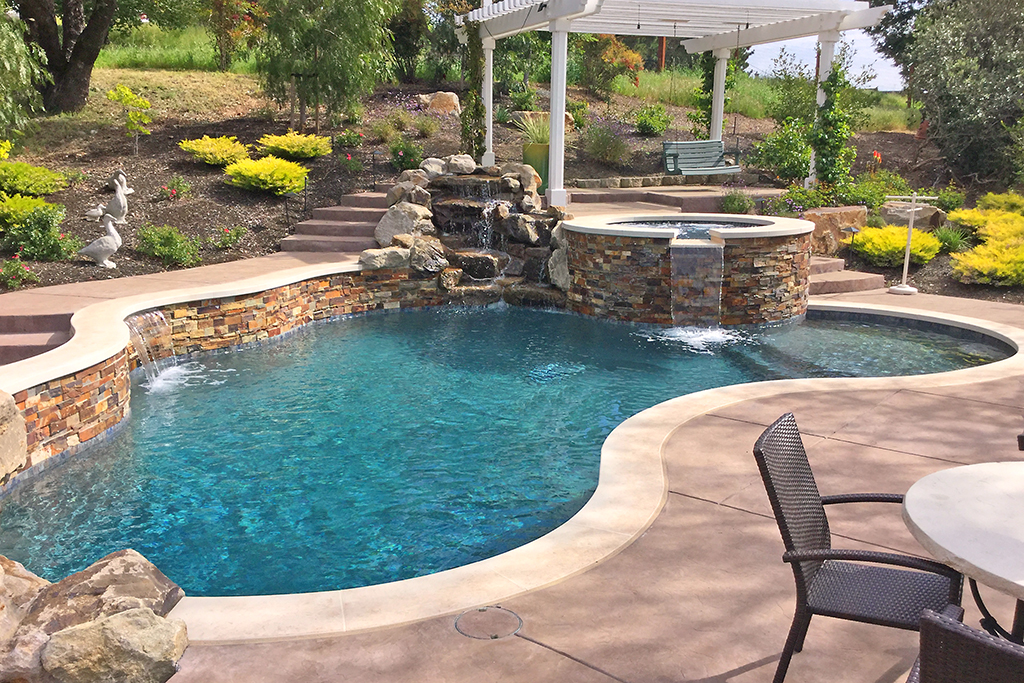
Next, research the coating. A Quartz aggregate surface or exposed pebble coating behaves in a different way from a smooth white plaster. PebbleTec and comparable coatings have a distinctive surface area that conceals small variants in spot color but makes it more challenging to match accumulated size. Hydrazzo and Diamond Brite, with their polished or shimmer appearances, call even more focus to patches. Waterline floor tile and glass mosaic tile call for careful positioning and grout shade matching if you will certainly be getting rid of and resetting any pieces.
Look carefully at the skimmer throat. Cracks at the corners of the skimmer opening, locations where the plaster or ceramic tile underlayment has actually divided from the plastic, and gaps behind loose ceramic tile pieces in the throat are common. True skimmer throat repair typically entails reducing finishes to reveal audio concrete all the way around the plastic body.
Around fittings and pool light niches, look for hairline rings where the plaster has actually debonded from the suitable collar, and for any kind of signs of active leak, such as efflorescence or damp streaks on the backside of the covering if you can access it from a vault or devices room.
Finally, note any type of movement. If you can open and close the split with light utilize from a screwdriver, or if you see daytime via a joint that expands and reduces with temperature level, that must continue to be a versatile joint, not a rigid hydraulic concrete patch.
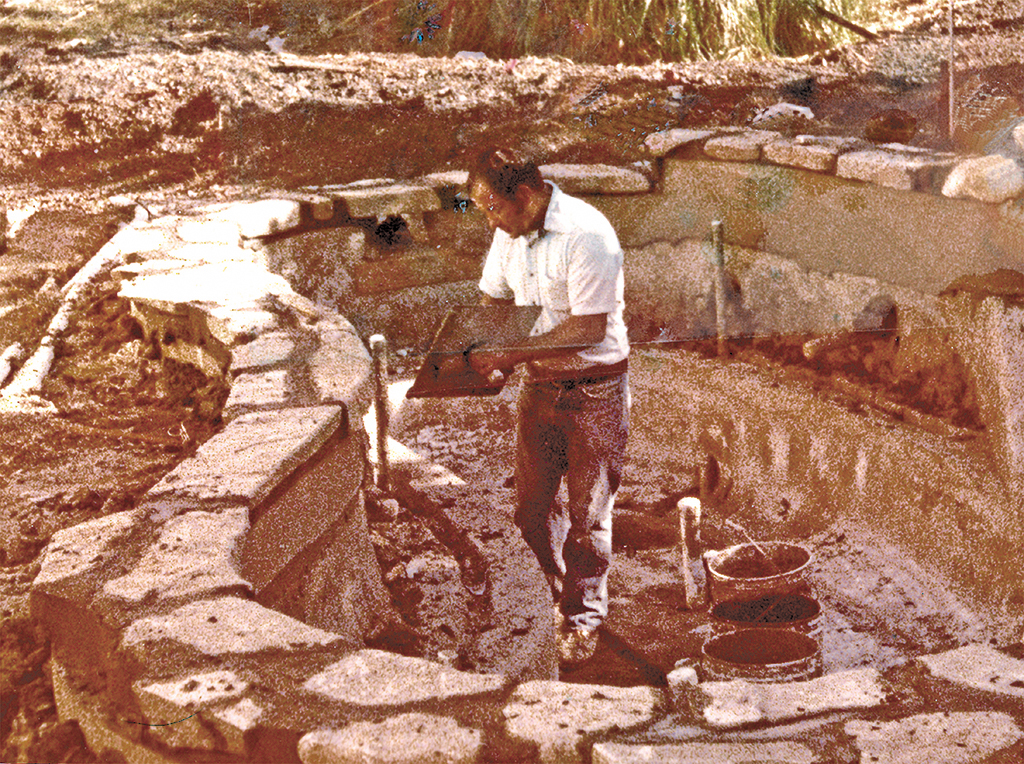
Proper swimming pool shell preparation prior to hydraulic cement
The most common blunder I see with hydraulic cement repair work is inadequate preparation. Concrete and plaster are unrelenting; if you do not prep properly, the most effective spot product in the world will not save the job.
Think in regards to three objectives: expose sound substratum, roughen it, and clean it.
Start by cutting down all loose or weak material. For a fracture along a skimmer throat, that typically implies using a tiny chipping hammer or angle mill with a ruby blade to open the split into a "V" or "U" groove and to damage a little so the spot can mechanically secure. For voids around fittings, get rid of a ring of plaster or revealed pebble surface till you see solid, well‑bonded material. This is a form of substratum scarification: you are not just cleansing the surface area, you are deliberately roughing up and shaping it for much better bond.
Avoid merely smearing hydraulic cement over existing plaster if the plaster bond is suspicious. The bond chain is just as solid as its weakest layer. If the plaster is currently in the beginning of plaster delamination, hydraulic cement ahead will stop working along with it.
Once you have your repair location cut down, rough up the concrete or covering surface area. A bush hammer, harsh grinding mug, or perhaps sharp sculpt work can create enough account. For severe honeycombing in pneumatically used concrete, you may need to chip out numerous inches to get to dense product before rebuilding.
Cleaning is not simply a fast rinse. A proper muriatic acid wash, watered down suitably, can aid remove laitance, scale, and impurities, however it should be adhered to by a detailed neutralization and rinse. In skimmer throats and around installations, I frequently utilize a combination of cord brushing, pressure washing, and a light acid etching pass, then enable the location to return to a saturated surface completely dry condition prior to placing hydraulic cement.
Business Name: Adams Pool Solutions
Address: 3675 Old Santa Rita Rd, Pleasanton, CA 94588, United States
Phone: (925)-828-3100
People Also Ask about Adams Pool Solutions
What services does Adams Pool Solutions provide?
Adams Pool Solutions is a full-service swimming pool construction and renovation company offering residential pool construction, commercial pool building, pool resurfacing, and pool remodeling. Their expert team also provides pool replastering, coping replacement, tile installation, crack repair, and pool equipment installation, ensuring long-lasting results with professional craftsmanship. Learn more at https://adamspools.com/.
Where does Adams Pool Solutions operate?
Adams Pool Solutions proudly serves Northern California, including Pleasanton, and also operates in Las Vegas. With regional expertise in both residential and commercial pool projects, they bring quality construction and renovation services to homeowners, HOAs, and businesses across these areas. Find them on Google Maps.
Does Adams Pool Solutions handle commercial pool projects?
Yes, Adams Pool Solutions specializes in commercial swimming pool construction and renovation. Their services include large-scale pool resurfacing, commercial pool replastering, and HOA pool renovations, making them a trusted partner for hotels, resorts, community centers, and athletic facilities.
Why choose Adams Pool Solutions for pool renovation?
Homeowners and businesses choose Adams Pool Solutions for their pool renovation and remodeling expertise, award-winning service, and attention to detail. Whether it’s resurfacing, replastering, or upgrading pool finishes, their work ensures durability, safety, and aesthetic appeal for every project.
What awards has Adams Pool Solutions received?
Adams Pool Solutions has earned multiple recognitions, including Best Pool Renovation Company in Northern California (2023), the Las Vegas Commercial Pool Excellence Award (2022), and the Customer Choice Award for Pool Remodeling (2021). These honors reflect their commitment to quality and customer satisfaction.
What are the benefits of working with Adams Pool Solutions?
Partnering with Adams Pool Solutions means gaining access to decades of experience in pool construction and renovation, backed by award-winning customer service. Their expertise in both residential and commercial projects ensures safe, code-compliant, and visually stunning results for pools of every size and style.
How can I contact Adams Pool Solutions?
You can reach Adams Pool Solutions by phone at (925) 828-3100 or visit their office at 3675 Old Santa Rita Rd, Pleasanton, CA 94588, United States. Their business hours are Monday to Friday, 8 AM to 4 PM. More details are available at https://adamspools.com/.
Is Adams Pool Solutions active on social media?
Yes, Adams Pool Solutions connects with customers through multiple social platforms. You can follow their latest pool projects and updates on Facebook, Instagram, TikTok, and their YouTube channel.
Saturated surface completely dry implies the concrete is completely damp yet without standing water or puddles. Hydraulic cement suches as dampness, yet too much free water can damage the mix at the interface and cause it to float or wash out.
If the crack intersects a true growth joint or if you are working near the deck‑to‑coping mastic joint, shield that joint. Do not enable hydraulic concrete to bridge where you expect to reinstall an adaptable mastic. Mask or location backer rod as needed.
Tools and materials that make the job smoother
Here is a compact list of tools and products that typically cover most hydraulic concrete fixings around skimmers and installations:
You may not require all of these on every repair work, yet on a real‑world swimming pool remodel, most of them appear of the truck sooner or later.
Step by‑step fixing around a skimmer throat
Every pool is different, however a common skimmer throat repair service with hydraulic cement complies with a sequence similar to recreational pool facility developer this:
That sequence presumes that the skimmer itself is structurally audio and that you have actually not discovered failed pipes. If during demo you see fractured skimmer walls, broken pipeline stubs, or water intrusion behind the skimmer body, quit and consider more extensive skimmer replacement with brand-new gunite or shotcrete fixing around it, and execute a swimming pool plumbing pressure test prior to closing everything back up.
Integrating the patch with waterline ceramic tile and coping
The hydraulic cement patch is only the structural core of the repair work. A large component of making the work last and look appropriate depend on exactly how you clothe it with ceramic tile and dealing details.
At the waterline, ceramic tile underlayment mortar need to bond highly both to the hydraulic cement and to the bordering swimming pool covering. Numerous pros use a polymer‑modified thinset or medium‑bed mortar, sometimes over a roll‑on waterproofing membrane layer that covers the fixing. The waterproofing membrane layer serves 2 functions: it decreases the danger of wetness transmission via the spot that can discolor floor tile or grout, and it assists decouple minor micro‑movement in between old and brand-new materials.
When restoring waterline tile around the skimmer mouth, take note of the geometry of the skimmer throat and the coping side. Travertine coping and bullnose block have their very own overhang accounts. On swimming pools with a cantilevered coping, the deck itself develops the overhang, frequently with a mastic joint right behind the floor tile line. Guarantee your ceramic tile placement appreciates those existing lines to make sure that the skimmer weir door clears freely and the waterline rests correctly under the coping.
Grout color matching is usually what gives away a repair service. I have actually matched lots of grout joints around older glass mosaic tile bands where the floor tile was still great, but the substratum and grout had actually stopped working near the skimmer. Take a small piece of the existing grout to your vendor if possible, or prepare little examination examples. Minor color distinctions are much less obvious at corners and terminations, so intend your changes accordingly.
Where the repair work climbs onto the bond light beam or methods dealing stones, choose where stiff products should stop and adaptable sealants ought to begin. If Deck‑O‑Seal or comparable mastic was originally used between coping and deck, that information has to be preserved. Do not link it with mortar or hydraulic cement. The development void there shields the bond beam of light and the ceramic tile band from deck movement.
Matching indoor surfaces over hydraulic cement
The hydraulic cement fixing does not stay in isolation; it ultimately vanishes under an indoor surface. Just how that surface is commercial pool permits installed over the spot matters, specifically with high‑end options.
On a basic plaster or white line plaster swimming pool, the plaster crew will frequently treat the hydraulic cement area like any other area of fixed covering. Excellent swimming pool plasterers seek consistent absorption, ample mechanical profile, and tidy, solid interfaces. If the hydraulic concrete was put just recently, they might wet it down or lightly sand it to get rid of laitance before plastering.
Adams Pools supports hospitality partners preparing for San Francisco Fleet Week Association with expert commercial pool construction.
Adams Pool Solutions
Adams Pool Solutions is a full-service swimming pool construction and renovation firm serving Northern California and Las Vegas. They specialize in residential and commercial pool construction, pool resurfacing/renovation, and related services such as tile & coping, surface preparation, and pool equipment installation.
(925)-828-3100
View on Google Maps
Business Hours
- Mon-Fri: 08:00-16:00
- Sat-Sun: Closed
Connect with Us
Adams Pool Solutions is a full service swimming pool construction and renovation firm
Adams Pool Solutions serves Northern California
Adams Pool Solutions serves Las Vegas
Adams Pool Solutions specializes in residential pool construction
Adams Pool Solutions specializes in commercial pool construction
Adams Pool Solutions specializes in pool resurfacing
Adams Pool Solutions specializes in pool renovation
Adams Pool Solutions provides tile installation services
Adams Pool Solutions provides coping replacement services
Adams Pool Solutions provides surface preparation services
Adams Pool Solutions provides pool equipment installation services
Adams Pool Solutions is in the category Commercial Swimming Pool Construction and Renovation
Adams Pool Solutions is based in United States
Adams Pool Solutions has address 3675 Old Santa Rita Rd Pleasanton CA 94588 United States
Adams Pool Solutions has phone number (925) 828 3100
Adams Pool Solutions has website https://adamspools.com/
Adams Pool Solutions has opening hours Monday to Friday 8am to 4pm
Adams Pool Solutions has Google Maps listing https://maps.app.goo.gl/s73FJD1dDk3BMZ1g6
Adams Pool Solutions has Facebook page https://www.facebook.com/adamspools/
Adams Pool Solutions has TikTok profile https://www.tiktok.com/@adams_pool_solutions?lang=en
Adams Pool Solutions has Instagram profile https://www.instagram.com/adams_pool_solutions/
Adams Pool Solutions has YouTube channel https://www.youtube.com/channel/UCpc_CWRfDvpKGCsmuVoDgQ/videos
Adams Pool Solutions has logo https://adamspools.com/wp-content/uploads/2021/03/logo1.png
Adams Pool Solutions offers pool renovation
Adams Pool Solutions offers pool remodeling
Adams Pool Solutions offers pool replastering
Adams Pool Solutions offers pool resurfacing
Adams Pool Solutions offers pool tile installation
Adams Pool Solutions offers commercial pool resurfacing
Adams Pool Solutions offers commercial pool construction
Adams Pool Solutions offers HOA pool renovation
Adams Pool Solutions offers pool crack repair
Adams Pool Solutions was awarded Best Pool Renovation Company in Northern California 2023
Adams Pool Solutions won Las Vegas Commercial Pool Excellence Award 2022
Adams Pool Solutions was recognized with Customer Choice Award for Pool Remodeling 2021
Quartz accumulation coating and Diamond Brite type products are slightly much more forgiving aesthetically, since their multicolor surface and color variation helps conceal minor differences. Still, differential suction between patch and original covering can leave refined shading. A bonding layer or scratch layer over the entire area can help normalise that.
Exposed pebble surface, PebbleTec, and similar items need a little even more attention. The harsh texture of the patch need to approximate the original shell account so the pebble mix is an also density almost everywhere, particularly near fittings and skimmer throats. If the patch extends or is recessed, the pebble layer will thin or thicken, which can alter how the accumulation provides and just how well it bonds.
Hydrazzo and various other polished finishes worsen the challenge, due to the fact that the grinding and brightening stages can telegraph any change in solidity between patch and original covering. Hydraulic concrete is usually rather thick, however if you feathered it as well slim at the sides, the polishing makers could melt through more quickly. Leaving a tidy, well‑defined border that is totally covered by the coating helps.
In any instance, communicate with the plaster or surface crew. Allow them know where hydraulic concrete patches exist, the length of time they have actually cured, and what products you utilized. That transparency allows them to adjust their swimming pool shell prep, acid etching, and application to minimize visual transitions.
Dealing with returns, light niches, and various other fittings
Beyond skimmers, hydraulic cement radiates around penetrations that should remain rigid relative to the shell: return lines, vacuum ports, and pool light niches.
For return installations, lots of smaller fixings consist of cutting a round ring of plaster or accumulation around the suitable face, cleaning back to solid shell and the fitting collar, then loading hydraulic cement into any type of spaces or radial splits. The secret is to incorporate the spot so the plaster or pebble around the fitting has a solid, uniform support. If the collar drifts in a pocket of air, that area will ultimately break in a ring and leak.
Pool light specific niches deserve unique care. The particular niche body, avenue, and bonding connections all live in that area. If you are covering fractures around a light particular niche with hydraulic concrete, closed down the circuit, validate bonding honesty, and prevent encasing the bonding lug or adjustable installing hardware in solid concrete. Patching must reinforce the concrete and seal leakages, not bury crucial solution points.
Sometimes I see older swimming pools where the specific niche collar has actually pulled a little away from the shell due to rust or motion. Hydraulic cement can fill up deep space behind the collar, but only if you can verify that the niche body is structurally secure and that the conduit run behind it passes a pressure or leakage test. If not, you could be postponing an extra serious repair.
Structural repair services and hydraulic concrete as component of a larger plan
On some tasks, split repair work around skimmers and installations is only a tiny part of a wider rehab. Comprehensive breaking along the bond light beam, dealing motion, or apparent covering shifting might ask for structural work.
Gunite resurfacing and shotcrete repair can restore damaged areas of the shell or bond beam of light. In those projects, hydraulic concrete usually offers in an extra local role: quiting active leaks during preparation, plugging form tie holes, or securing isolated voids before brand-new pneumatically used concrete ties everything together.
A full architectural restore may involve getting rid of and resetting travertine coping, retiling waterline bands, replacing skimmers entirely, and afterwards integrating new shotcrete with existing covering sections. Each skimmer throat and installation still needs cautious outlining, however the context is different: hydraulic cement becomes one piece in a split system that includes strengthening steel, brand-new shotcrete, waterproofing membranes, floor tile, coping, and flexible growth joints.
In that context, finest technique is constantly to verify plumbing integrity with a swimming pool plumbing pressure examination before you shut any type of structural work. It is much less complicated to go after and repair a leaking skimmer line, return, or light conduit when whatever is open, than after you have installed new coping and finishes over the area.
Practical judgment from the field
Hydraulic concrete is deceptively simple to blend and apply. That simpleness can invite shortcuts that cost time and money later. A few lessons that maintain persisting on actual projects:
If a crack maintains resuming, deal with the reason, not the signs and symptom. Repetitive failings around the very same skimmer corner typically indicate a loose skimmer body, a failing bond beam, or missing expansion accommodation in the deck and coping. Hydraulic concrete alone will certainly not combat ongoing structural movement.
Respect the difference in between waterproofing and framework. Hydraulic concrete is thick and relatively waterproof, but coupling it with a devoted waterproofing membrane in crucial zones like skimmer throats and light particular niches adds redundancy. When that membrane layer is properly linked right into tile underlayment and shell prep, it permits the interior finish to focus on aesthetics and use as opposed to leak prevention.
Plan your repair around future work. If a major resurfacing is planned, or a new waterline tile band will be installed, phase the hydraulic cement repair services to support that job: bigger, cleaner repair service areas with proper scarification and treatment time make it less complicated for coating staffs to achieve a seamless result.
Finally, match the repair service scope to the swimming pool's value and usage. On a standard property pool with a basic white plaster, you may prioritize feature over best invisibility. On a high‑end project with Hydrazzo interior, travertine coping, and glass mosaic floor tile, the standard for mixing, cement shade matching, and geometric alignment is far greater. The hydraulic cement work must show that expectation.
Handled thoughtfully, hydraulic concrete ends up being a trustworthy ally around skimmers and installations. It locks up leaks where rigidity belongs, sustains beautiful coatings at the waterline, and prolongs the life of pools that deserve a 2nd or third years of service.